When installing an LED bathroom mirror, opting for a ready-made mirror is a convenient and efficient choice. These mirrors often come with features like anti-fog technology, ensuring a clear and fog-free reflection. In this article, we’ll guide you through the practical steps and provide useful tips for a successful installation, helping you enhance both the aesthetics and functionality of your bathroom.
In this guide on how to install LED bathroom mirror, we’ll cover all the essential steps to ensure a successful installation.
1. Step-by-step Guide to Installing LED Mirrors for Bathrooms
LED mirrors for bathrooms are both stylish and practical, making them a popular choice for modern spaces. Available in various sizes, shapes, and lighting options, they are a versatile addition to any bathroom.(Explore our customization options to find the perfect LED mirror for your space. ) While the installation process can be straightforward, it’s important to ensure that the wiring is done by a qualified electrician. Follow these steps to properly install your LED bathroom mirror:
|
1.Gather Tools and Materials 2. Preparation 3. Install Brackets 4. Connect the Power Supply 5. Hang the Mirror 6. Complete the Installation 7. Important Considerations 8. Safety First 9.Enjoy Your LED Mirrors for Bathrooms
Explore our selection of LED bathroom mirrors and find the perfect fit for your installation needs. |
2. Gather Tools and Materials for LED Bathroom Mirror Installation
Before you start the installation of your LED bathroom mirror, make sure you have the following tools and materials ready.
2.1. Tools:
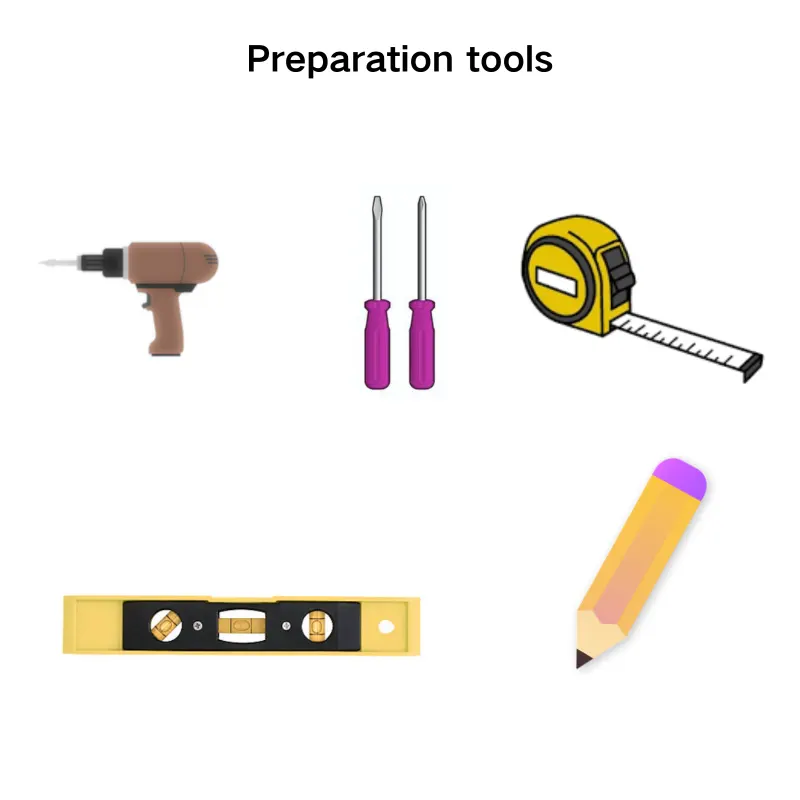
1.Pencil: Used to mark the exact locations on the wall where the mounting brackets will be installed, providing guidance during drilling and installation.
2. Electric Drill: Essential for drilling precise holes in the wall to securely mount the screws needed for the LED bathroom mirror installation.
3. Screwdriver: Used for tightening the screws that hold the LED mirror in place, ensuring a stable and secure fit.
4. Level: Crucial for checking that the mounting brackets are perfectly level, preventing the LED mirror from tilting and ensuring it hangs straight.
5. Tape Measure: Helps measure the exact dimensions of the LED mirror and its placement on the wall, ensuring accurate alignment and positioning.
2.2. Materials:
- Mounting Brackets:Choose brackets that are compatible with the design and weight of your LED bathroom mirror. Ensure they are strong enough to support the mirror securely on the wall.
Tip: Always check the manufacturer’s guidelines for recommended brackets.
- Screws:Select screws that are appropriate for the wall material (e.g., drywall, concrete, or tile). The screws should be long enough to provide a secure hold but not so long that they damage the wall.
Tip: Use screws that match the type of mounting brackets you’ve chosen.
- Expansion Screws (if needed):For walls that lack sufficient strength, such as drywall, use expansion screws to provide extra support.
Tip: Make sure to choose expansion screws that are suitable for your specific wall type to avoid any slippage or instability.
- Wires:If your LED mirror requires a connection to a power source, ensure the wires are of sufficient length and compatible with your home’s electrical system.
Tip: It’s always a good idea to have some extra wire length to accommodate any adjustments during installation.
- Junction Box (if needed):Use a junction box to safely house the electrical connections between the LED mirror and your home’s power supply, keeping the installation neat and compliant with electrical codes.
Tip: Position the junction box close to the mirror to minimize exposed wiring.
- Wall Repair Materials (if needed):Before mounting the mirror, repair any cracks or uneven areas on the wall to ensure a smooth and secure installation.
Tip: Use a wall patch kit or spackle to fill in any holes or gaps, and allow it to dry completely before proceeding with the installation.
3. Preparing Your Wall for Installing LED Mirrors in the Bathroom
To ensure a smooth and successful installation of your LED bathroom mirror, it’s essential to properly prepare the wall and understand the purpose of each installation step. In this guide, we’ll walk you through the necessary preparations, including wall preparation, and each step’s purpose, so you can confidently install your LED mirror with precision and care.
3.1. Check the Wall Surface:
- Identify Wall Type:Determine the wall material (drywall, brick, or concrete) to choose the appropriate installation method.
- Ensure Surface Evenness:Check for cracks or uneven areas on the wall and repair them to ensure a secure mount for the LED mirror for bathroom.
3.2. Determine the Mirror Placement
- Optimal Position:Install the LED bathroom mirror above the sink for ideal use and lighting.
- Consider Surrounding Space:Ensure the mirror doesn’t obstruct shower doors, cabinet doors, or other fixtures.
3.3. Measure and Mark
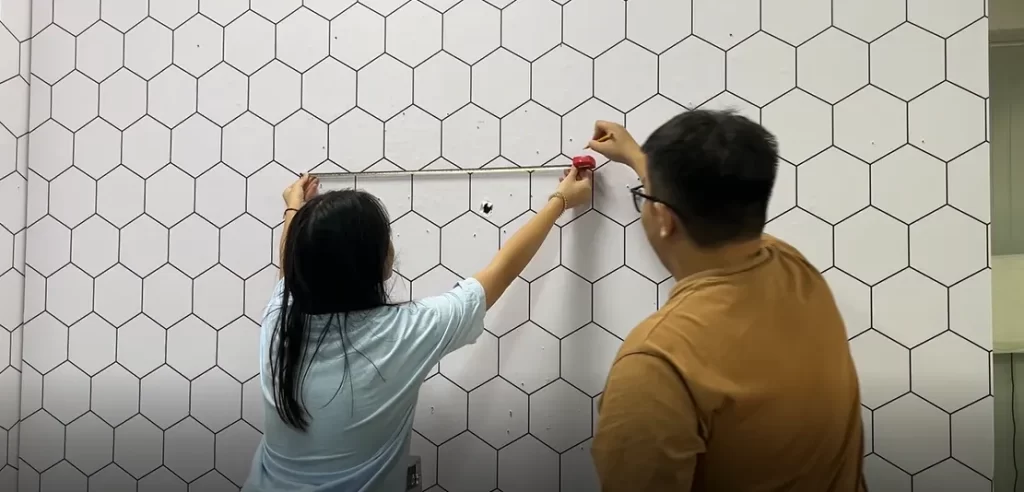
- Measure Dimensions:Use a tape measure to determine the mirror’s size and the ideal position on the wall.
- Mark Installation Points:Use a pencil to mark the top, bottom, and sides of the mirror on the wall, ensuring these marks are horizontal using a level.
4. Install Brackets for LED Bathroom Mirrors
- Choose Bracket Location:Mark the bracket installation locations on the wall based on the type of brackets on the back of the LED mirrors for bathrooms (hooks, mounting plates, or bracket holes). Ensure that the marked points align with the actual mounting holes on the LED on mirror.
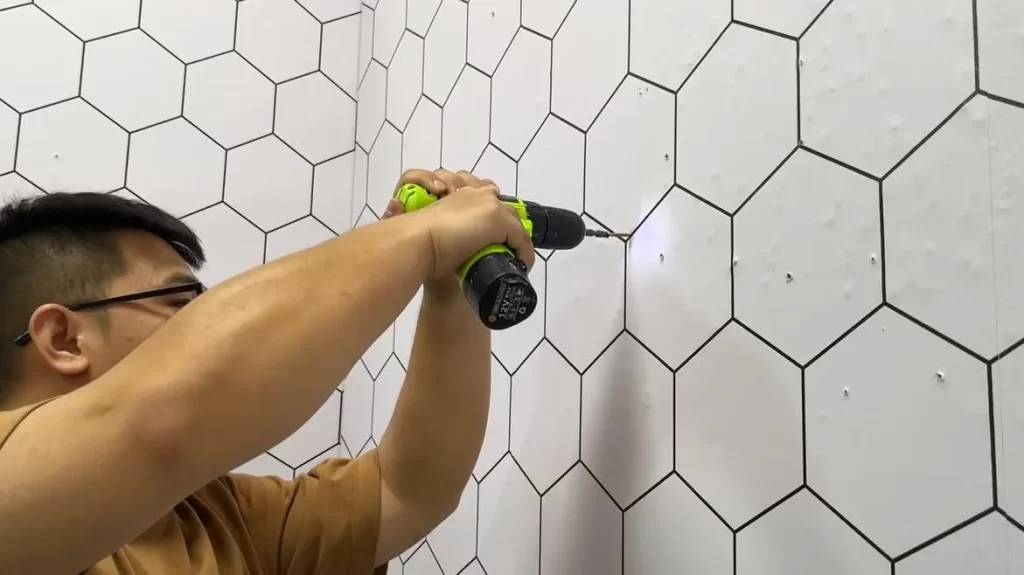
- Drill Holes:Use an electric drill to make holes in the wall. The diameter and depth of the holes should match the expansion screws or mounting screws.
- Secure the Brackets:Align the brackets with the marked points and use a screwdriver to insert the screws into the holes. Ensure that the brackets are level by using a level to avoid any tilt after installing the LED bathroom mirror.
With the brackets securely in place, your LED mirrors for bathrooms are now ready for the next step of the installation.
5. Hang the Mirror
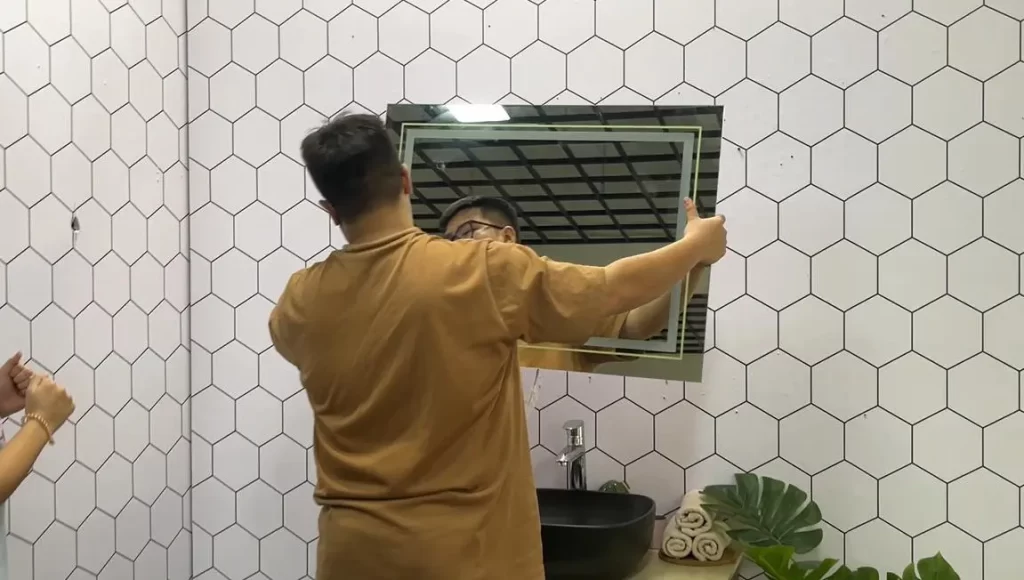
- Handling the Mirror’s Weight: Before lifting the mirror, make sure you have someone to assist you if the mirror is heavy. This prevents accidents and makes it easier to align the mirror with the brackets.
- Aligning with the Brackets: Carefully lift the mirror and align it with the mounting brackets. Start by positioning the top edge of the mirror against the upper brackets, then slowly lower it until it fits securely onto the lower brackets.
- Securing the Mirror: Once the mirror is in place, gently press down to ensure it’s fully seated on the brackets. Check that the mirror is locked into the brackets to prevent any movement or slippage.
- Preventing Slippage: If your mirror has locking screws or additional securing mechanisms, make sure to tighten them as instructed. This will further secure the mirror and prevent it from slipping.
- Final Adjustments: Use a spirit level to check the mirror’s alignment. If the mirror is not perfectly level, gently adjust it by nudging it into position or loosening and retightening the brackets as needed. This ensures the mirror is visually symmetrical and enhances the overall aesthetics of your bathroom.
6. Connect the Power Supply to Your LED Bathroom Mirror
- For non-professionals: If you are unfamiliar with electrical work, it is highly recommended to hire a qualified electrician to perform the wiring. This ensures safety and compliance with local electrical codes.
- For those experienced with electrical work:
- Ensure Safety by Shutting Off Power:Before making any electrical connections, shut off the power at the circuit breaker.
- Wire Connections:Connect the wires from the LED mirrors for bathrooms to the power wires in the wall, typically matching the colors (e.g., black to black, white to white, green to green). Carefully follow the instructions for installing the LED bathroom mirror to connect the wires correctly.
- Check Connections:Ensure the wire connections are secure and that there are no exposed wires to prevent short circuits or electric shocks.
- Test the Power:After completing the wire connections, reconnect the power and test the LED Bathroom Mirror according to the steps in the instructions to make sure it is working properly.
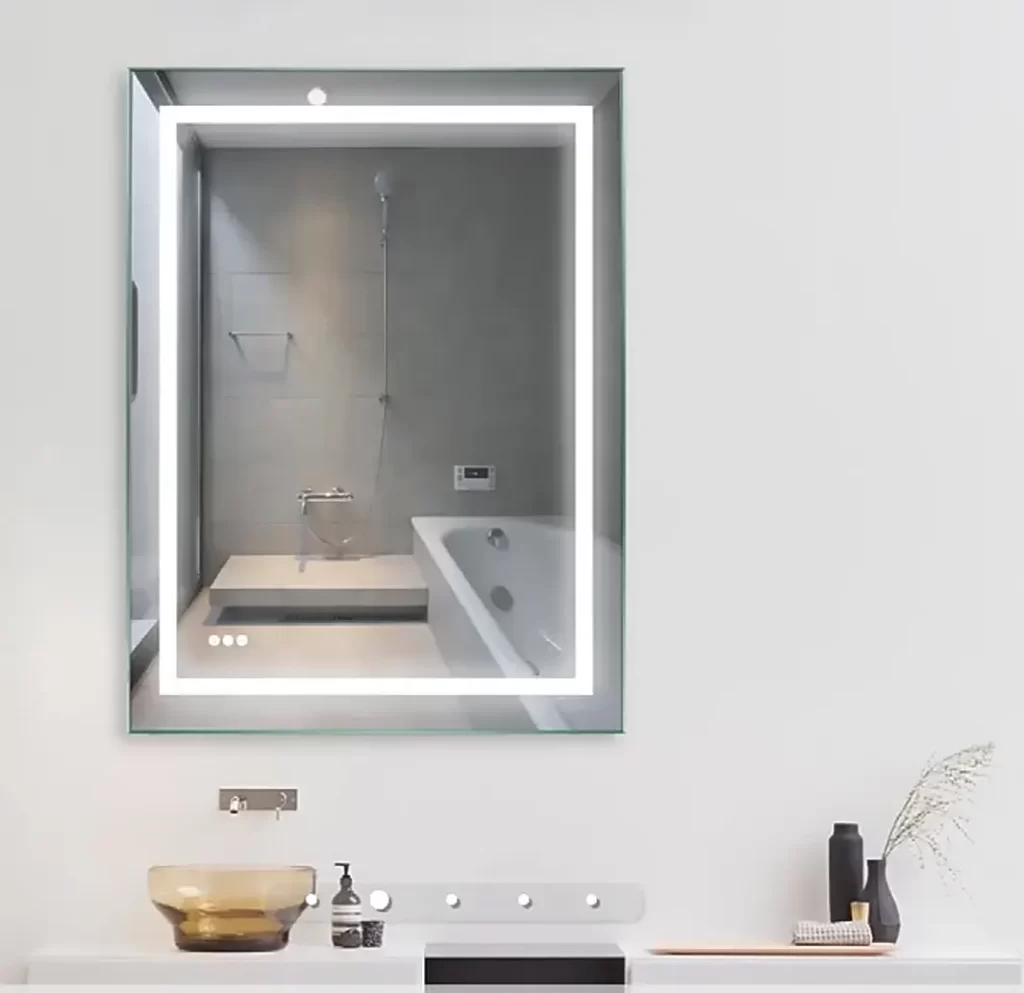
7. Complete the Installation
At this stage, carefully follow the installation procedure to check the security of all screws and electrical connections,Be sure to install in accordance with the National Electrical Code (NEC), refer to the official NFPA website for details. Ensure that the bathroom LED mirror is mounted securely and is not loose or unstable. Confirm that all functions of the LED mirror, including lighting and brightness adjustment, are working correctly according to the installation instructions. Clean the work area, removing any debris and wipe down the surface of the mirror to ensure it is clean and dust free.
8. Important Considerations
- Handling the Mirror’s Weight:
Before lifting the mirror, ensure you have assistance, especially if the mirror is heavy. This prevents accidents and makes it easier to align the mirror with the brackets.
Consideration: Check the weight capacity of the wall and brackets beforehand to ensure they can support the mirror.
- Aligning with the Brackets:
Carefully lift the mirror and align it with the mounting brackets. Start by positioning the top edge of the mirror against the upper brackets, then slowly lower it until it fits securely onto the lower brackets.
Consideration: Double-check that the brackets are properly installed and securely fastened to the wall before attempting to hang the mirror.
- Securing the Mirror:
Once the mirror is in place, gently press down to ensure it’s fully seated on the brackets. Check that the mirror is locked into the brackets to prevent any movement or slippage.
Consideration: If available, use additional safety clips or locking screws to further secure the mirror.
- Preventing Slippage:
If your mirror has locking screws or other securing mechanisms, make sure to tighten them according to the manufacturer’s instructions. This will further secure the mirror and prevent it from slipping.
Consideration: Regularly inspect these securing mechanisms to ensure they remain tight over time.
- Final Adjustments:
Use a spirit level to check the mirror’s alignment. If the mirror is not perfectly level, gently adjust it by nudging it into position or loosening and retightening the brackets as needed. This ensures the mirror is visually symmetrical and enhances the overall aesthetics of your bathroom.
Consideration: After adjusting, take a step back to visually assess the mirror’s placement in the context of the entire bathroom to ensure it aligns with other elements.
- Electrical Safety (if applicable):
If your LED mirror requires a connection to a power source, make sure all electrical connections are safely made and insulated. Consult a professional electrician if necessary.
Consideration: Always turn off the power at the breaker before making any electrical connections to avoid the risk of shock.
By following these detailed steps and considering these additional factors, you can ensure a safe, secure, and aesthetically pleasing installation of your LED bathroom mirror.
9. Safety First
Safety is of paramount importance when installing LED bathroom mirrors. It is important to follow the instructions for installing the LED Bathroom Mirror. If you are unfamiliar with electrical installations, we highly recommend hiring a professional electrician. Be sure to follow local electrical codes and regulations to ensure a safe installation.
10. Enjoy Your LED Mirror
Now that you know how to install LED bathroom mirror, follow these steps to enhance your bathroom’s functionality and style.Following this step-by-step guide to LED bathroom mirror installation, you’ll find the process straightforward and rewarding. Once your LED bathroom mirror is securely installed, you can enjoy its practical elegance and the modern touch it brings to your space.
You can browse the best-selling LED bathroom mirrors for your space here.